Steel Tiles. Technical Details.
A noble material shows its effect: stainless and ferrite steel are modern, individual and can be used creatively. With SPIN® tiles, you can choose from various surfaces in different installation heights.
Whether stainless steel alone or in combination with other floor or wall coverings: You can be sure of a brilliant appearance.
Materials and Surfaces at a Glance.
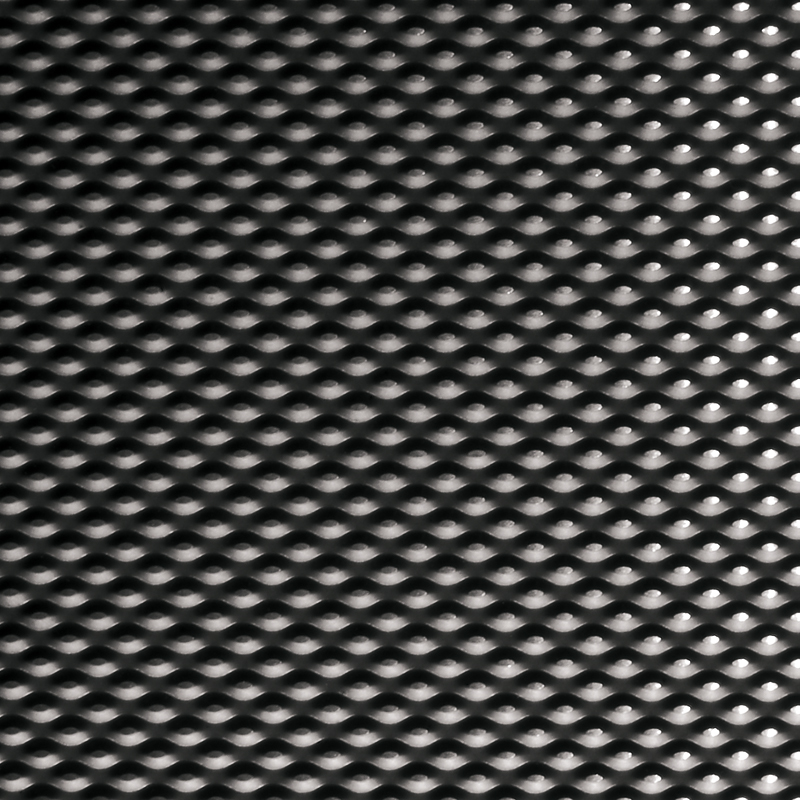
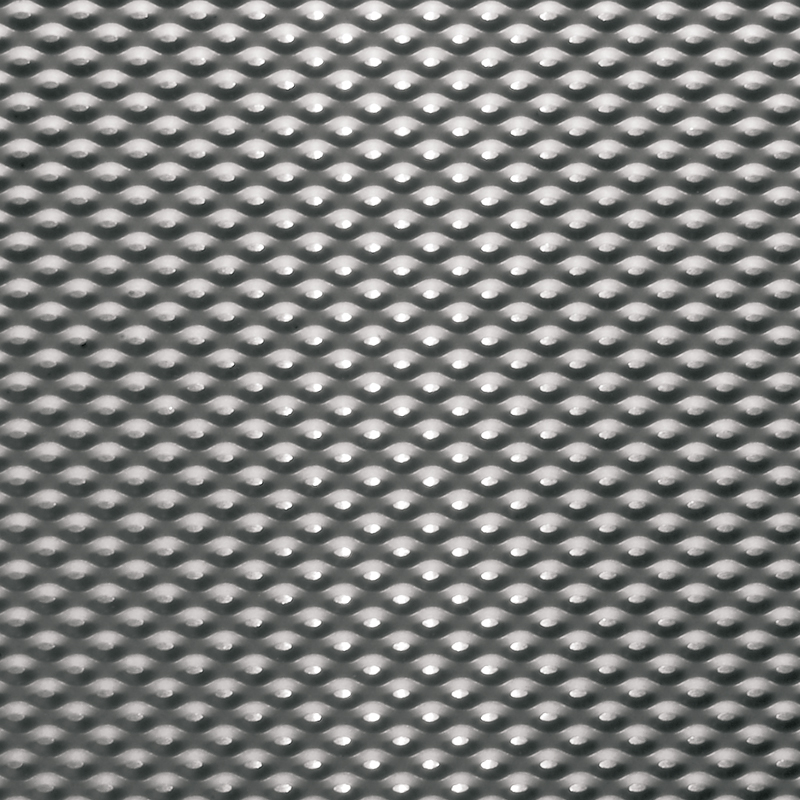
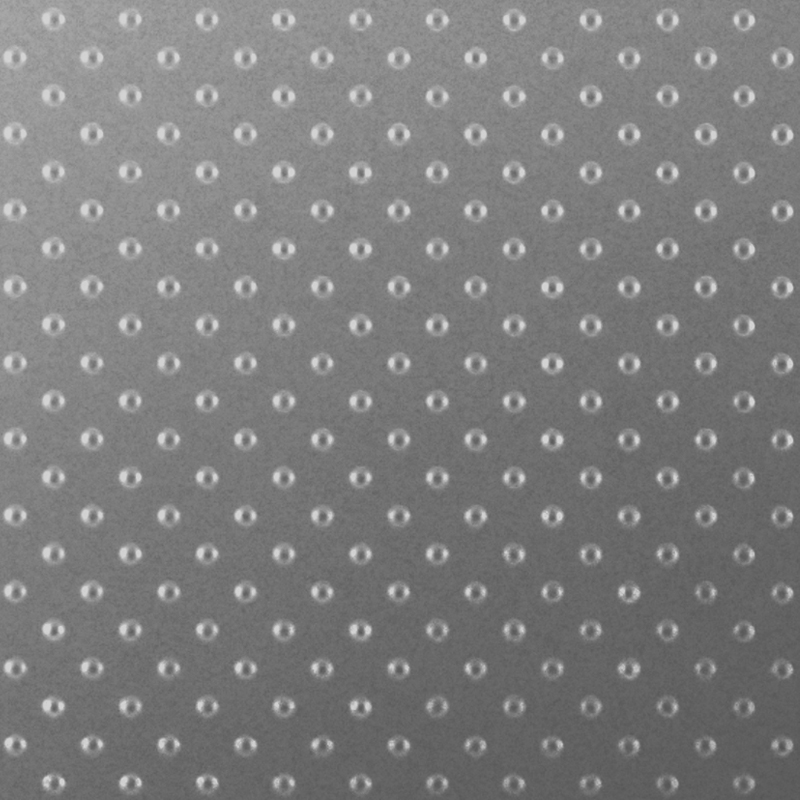
Our surfaces fulfil different requirements and are selected individually depending on the area of application. They are characterised by their high quality and create a unique ambience.
| SPIN® Plan | SPIN® Sand | SPIN® Big Point | SPIN® Oval Matt | SPIN® Oval Anthrazit | SPIN® Ferrit | SPIN® Bronze | SPIN® Messing | |
|---|---|---|---|---|---|---|---|---|
| Covered Outdoor Area | ||||||||
| Sanitary and Living Area | ||||||||
| Object Area | ||||||||
| Fire classification DIN 4102 | B1 | B1 | B1 | B1 | B1 | |||
| Slip Resistance | R10 | R9 | R10 | R10 | R10 | |||
| Displacement Space | V8 | |||||||
| Barefoot Test A | ||||||||
| Barefoot Test B | ||||||||
| Barefoot Test C | ||||||||
| Suitability for Underfloor Heating | ||||||||
| Observe Laying Direction |
Overview of Formats.
We manufacture our tiles individually to order for your project. We are happy to use our standard formats for this. Do you need a specific size or a special format, for example a geometric shape? We will be happy to fulfil your wishes in consultation with our production department – just get in touch!
Tiling Products (laying with joint I Type W and Type H)
The differentiation of the type is determined by the underside:
Type W has a silicate underside with a total thickness of 8 mm. Type H has a porcelain stoneware underside with a total thickness of 10.5 mm.
| Tiles / mm | Thickness / mm | Plan | Sand | Bigpoint | Oval Matt | Oval Anthrazit |
|---|---|---|---|---|---|---|
| 47,5x47,5 | 8 / 10,5 | |||||
| 97,5x97,5 | 8 / 10,5 | |||||
| 297,5x297,5 | 8 / 10,5 | |||||
| 597,5x47,5 | 8 / 10,5 | |||||
| 597,5x97,5 | 8 / 10,5 | |||||
| 597,5x147,5 | 8 / 10,5 | |||||
| 597,5x197,5 | 8 / 10,5 | |||||
| 597,5x297,5 | 8 / 10,5 | |||||
| 597,5x597,5 | 8 / 10,5 | |||||
| 597,5x1197,5 | 8 / 10,5 | |||||
| 1197,5x1197,5 | 8 / 10,5 | |||||
| 2397,5x1197,5 | 8 / 10,5 |
Flooring Products (installation without joint I Type B)
Type B has a plastic underside. We offer our flooring products with a thickness of 5 mm as standard, but other thicknesses are also possible on request. Please do not hesitate to contact us.
| Tiles / mm | Thickness / mm | Plan | Sand | Bigpoint | Oval-Matt | Oval-Anthrazit | Ferrit |
|---|---|---|---|---|---|---|---|
| 600x600 | 5 | ||||||
| 1200x150 | 5 | ||||||
| 1200x200 | 5 | ||||||
| 1200x300 | 5 | ||||||
| 1200x600 | 5 | ||||||
| 1200x1200 | 5 | ||||||
| 2400x1200 | 5 |
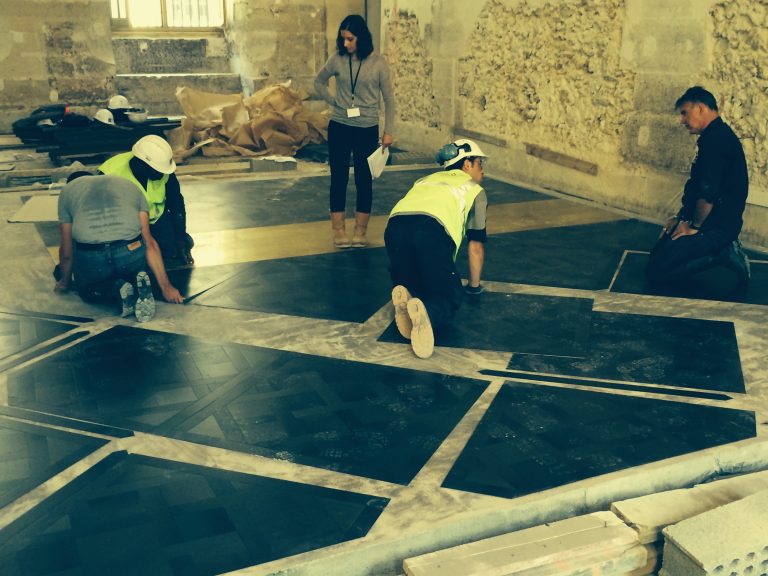
Laying
All surfaces must be checked for load-bearing capacity and strength before laying SPIN® tiles. Separating agents and dust must be removed from the surface beforehand without leaving any residue.
The information in the technical data sheets must always be observed.
Tiling Products (with joint - Type W and Type H)
Step 1: Clean the floor
Step 2: Priming
Cement screed: Clean
Calcium sulphate screed: Prime with ARDEX P 51 at a mixing ratio of 1:3 with water
Mastic asphalt screed, smooth floors and old tiles: Prime with ARDEX P 82 primer or Ardex P4-Ready
| Recommended Material | |
|---|---|
| FLOOR-Installation: Type W | ARDEX S28 |
| FLOOR-Installation: Type H | ARDEX X78 |
| WALL-Installation: Type W | ARDEX N23 |
| WALL-Installation: Type H | ARDEX X77 |
| Jointing Type W and Type H | ARDEX G6 Flex 1-6 |
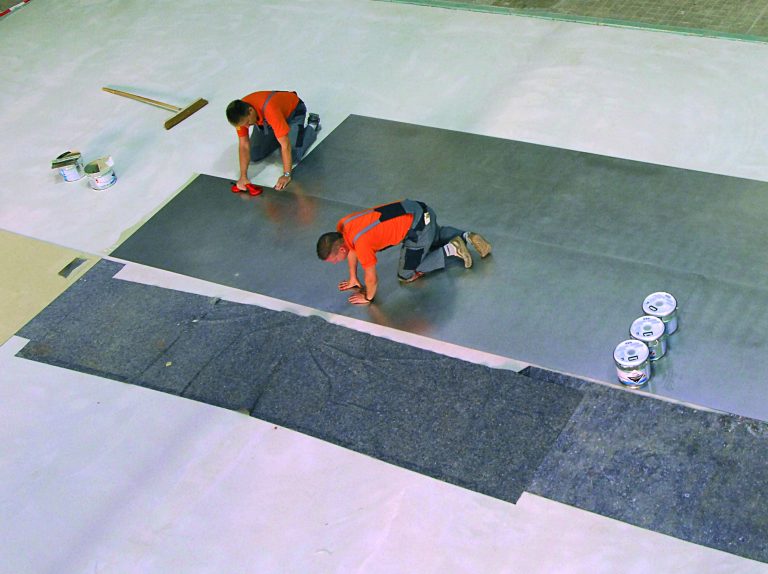
Flooring Products (without Joint - Type B)
Step 1: Clean the floor
Step 2: Priming
- Calcium sulphate screed: Prime with ARDEX P51 at a mixing ratio of 1:3 with water
- Cement screed, mastic asphalt screed, smooth floors and old tiles: Prime with ARDEX P82 synthetic resin primer or Ardex P4 Ready
Step 3: Levelling the flow filler
We recommend ARDEX K15 DR or ARDEX K39 as levelling compound.
Step 4: Sanding the levelling compound
We recommend sanding with a parquet sander, for example.
Step 5: Laying
We recommend ARDEX Premium AF 495 or SPIN® epoxy adhesive for installation.
Single Indicators (self-adhesive)
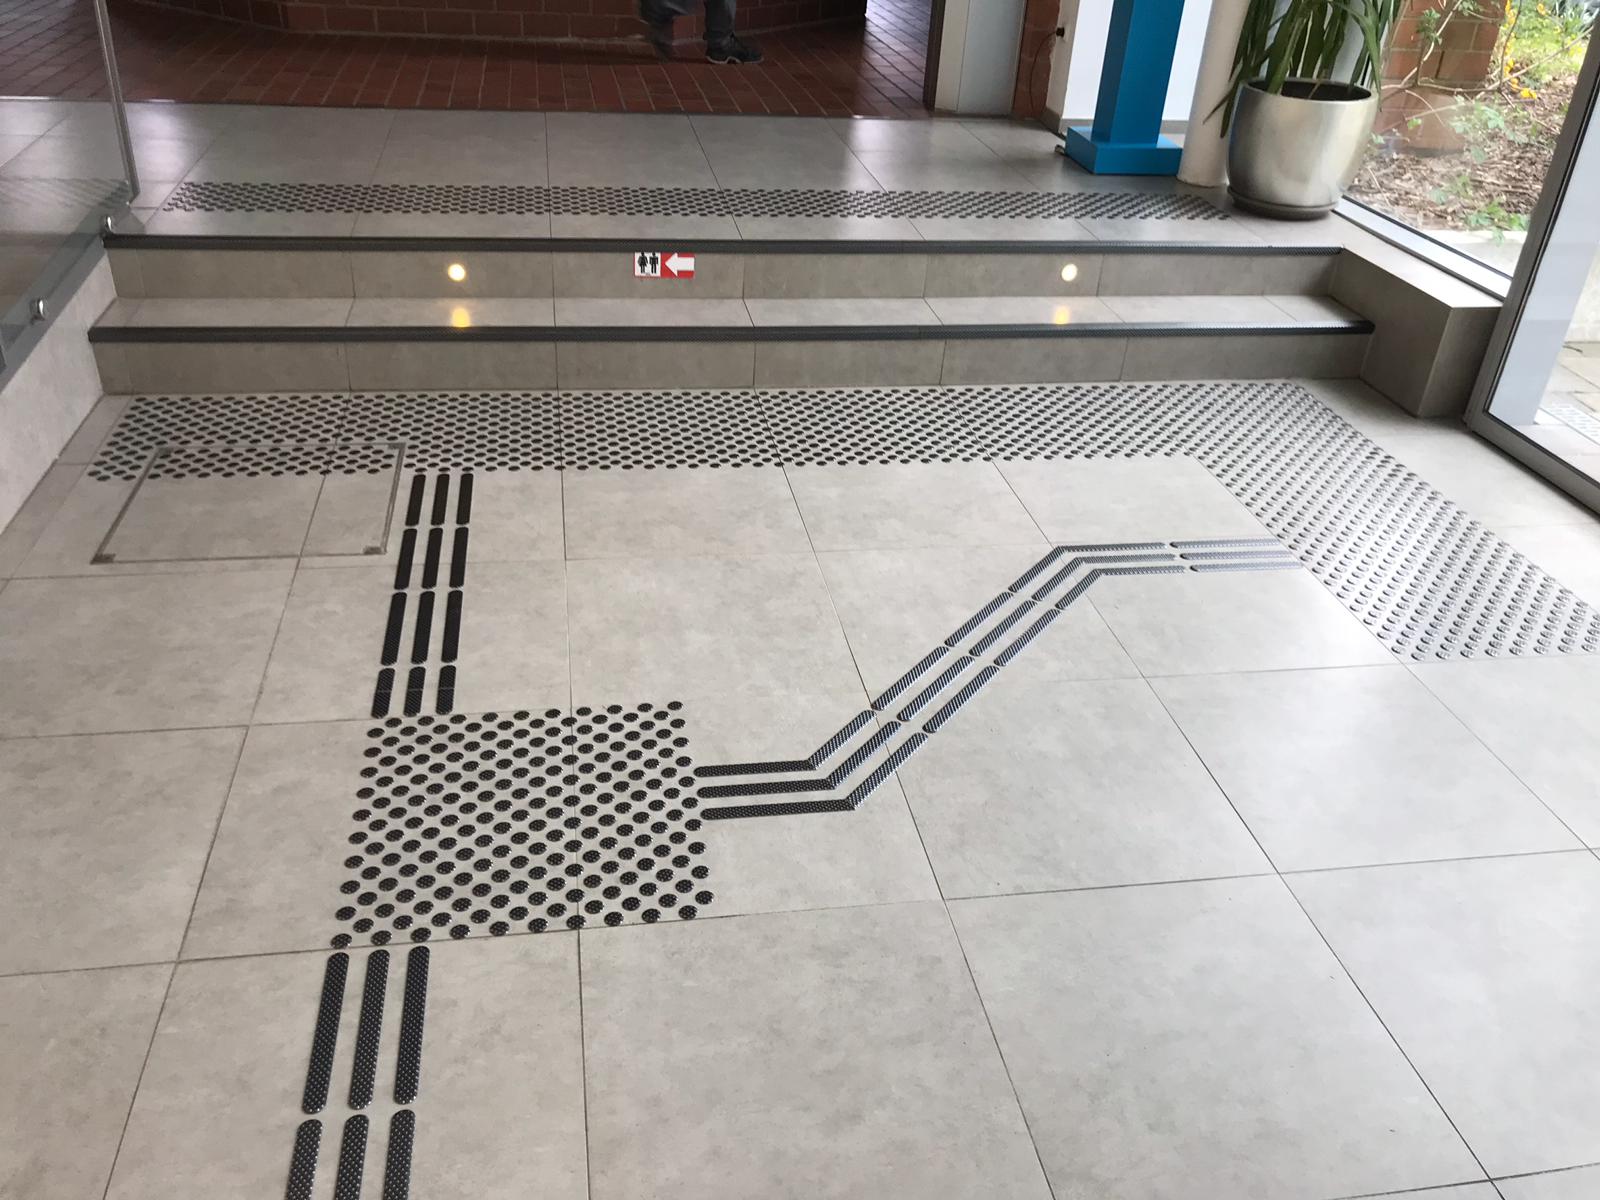
Step 1: Clean the floor, incl. degreasing
Step 2: Sticking on the indicators
With the help of a template (German or French spacing), the indicators are glued on one after the other. To do this, peel off the protective film on the underside, place the indicator and then press on firmly to activate the adhesive force. After 72 h, the floor can be walked on again.
For floors that are subject to particularly high levels of moisture and in areas where cleaning machines are used, e.g. in supermarkets or entrance areas, we recommend fixing the indicators with another special adhesive.
Datasheet Download
Data sheets explain the technical properties of the SPIN® series. If you have any further questions or require a data sheet for an individual product, please do not hesitate to contact us.
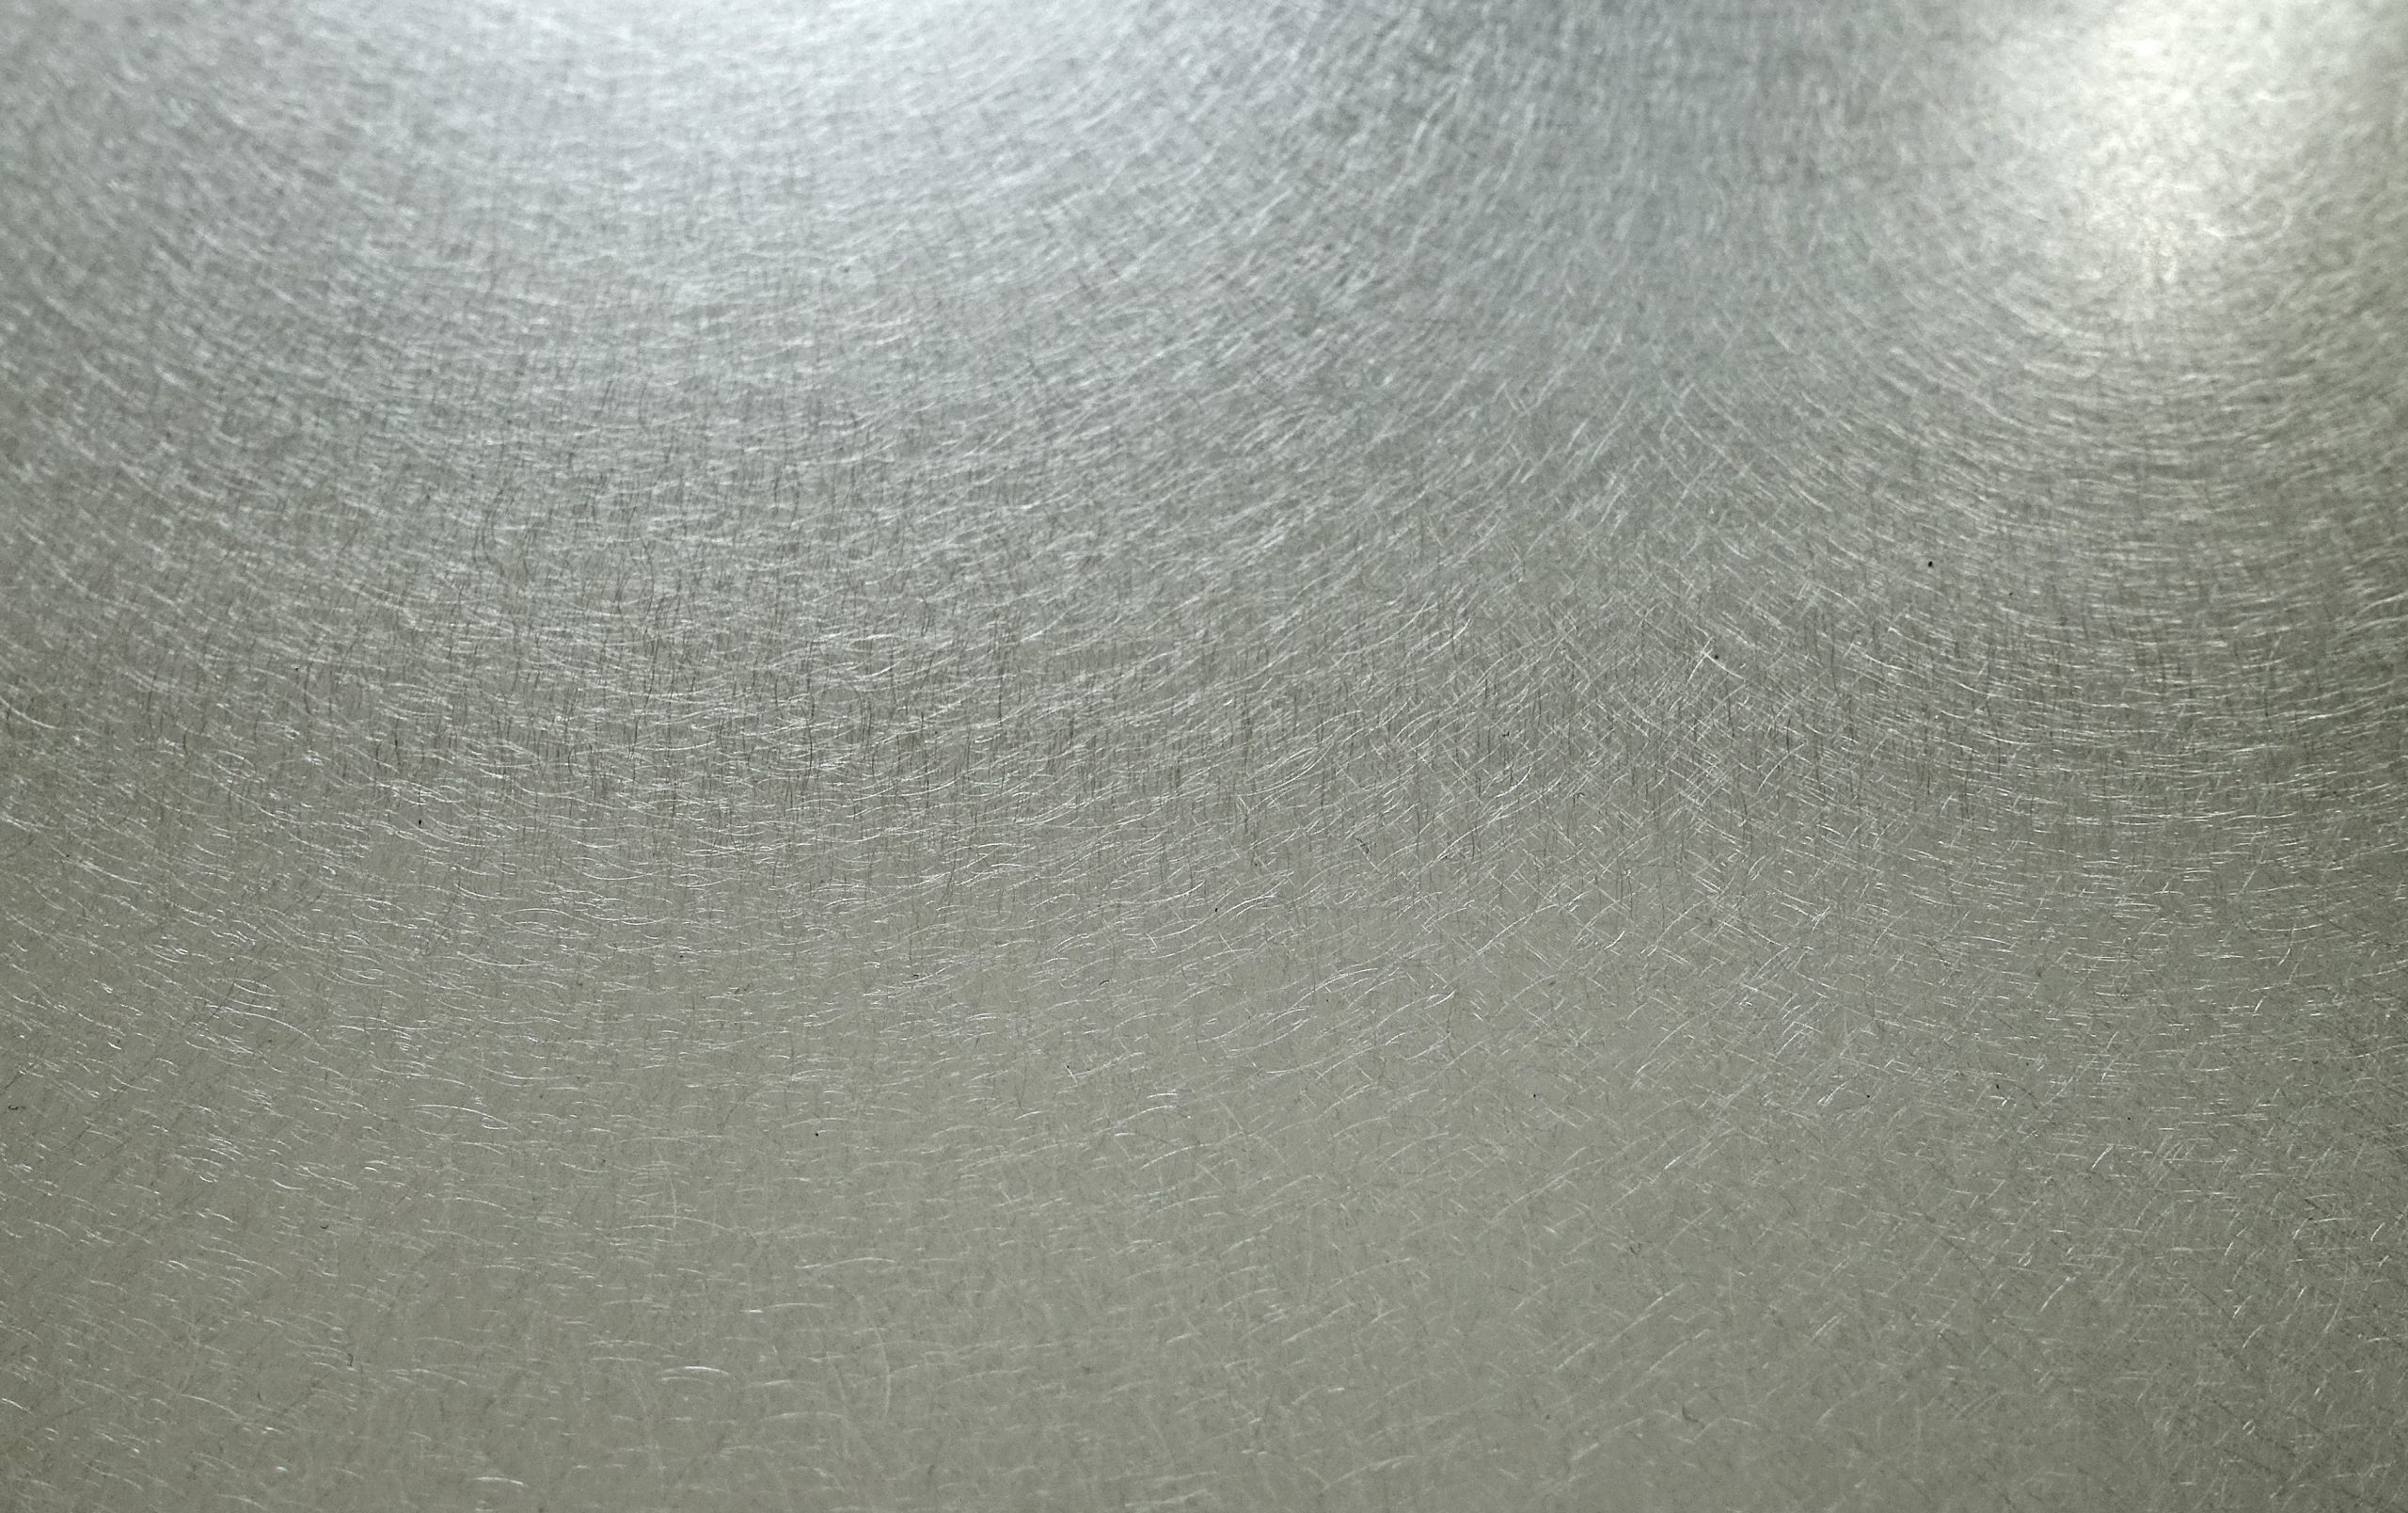
SPIN® Plan
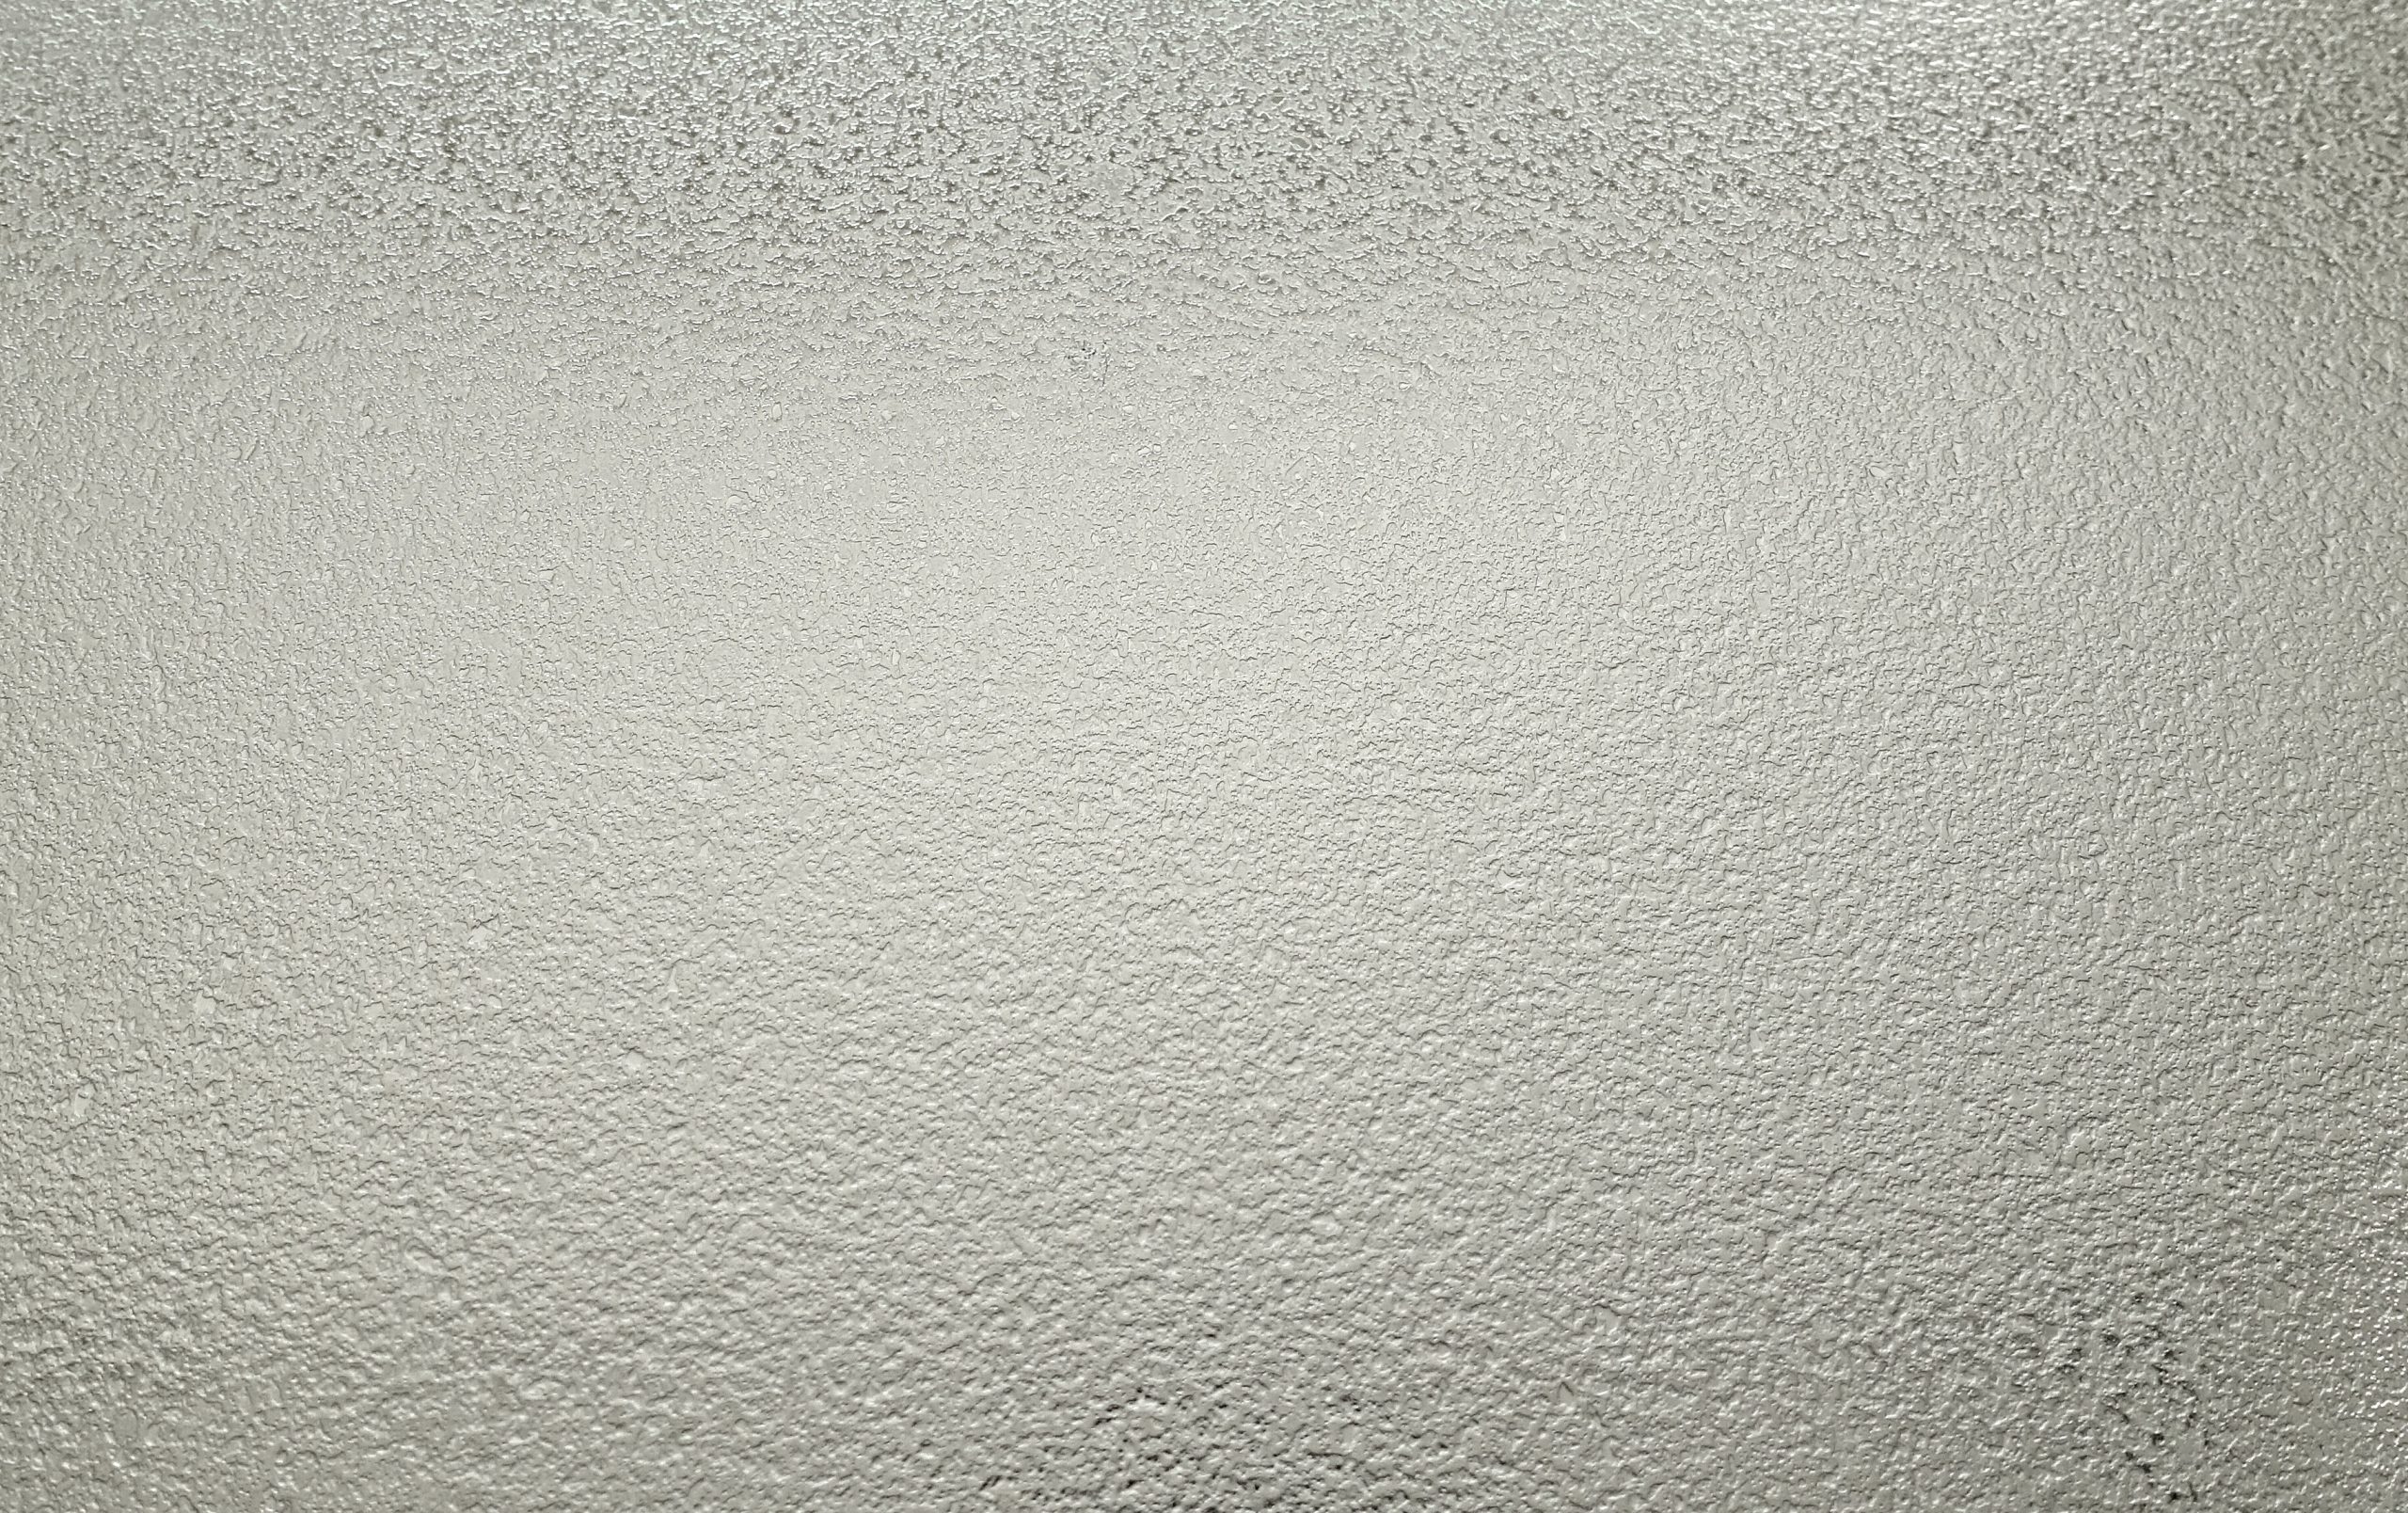
SPIN® Sand
SPIN® Big Point
SPIN® Oval Matt
SPIN® Oval Anthrazit
SPIN® Ferrit
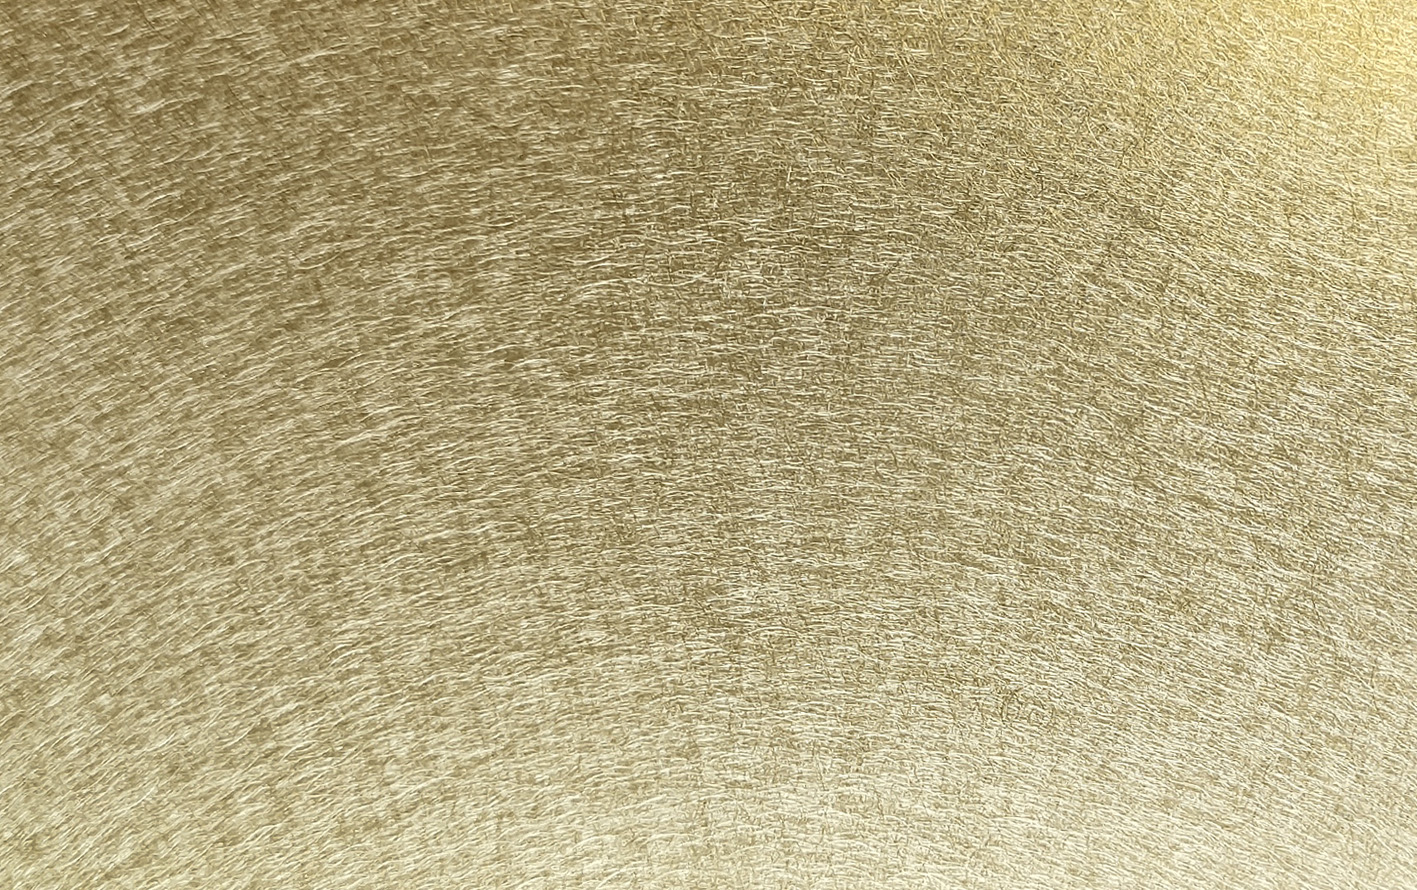
SPIN® Bronze
SPIN® Messing

Stair Treads
A noble material shows its effect: stainless steel is modern, individual and can be used creatively. With SPIN® products, you can present your stair treads at a high level and offer the highest safety standards.
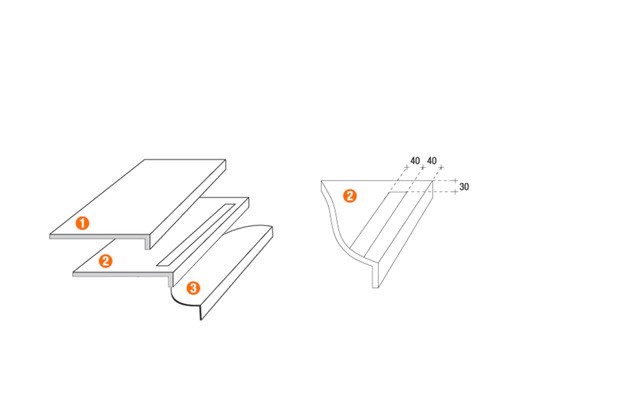
Step Shapes

Stair Types
The step types differ in their shape:
1 – surfaces only (also suitable for window sills)
2 – PLAN surface with inlaid anti-slip trip strip
3 – PLAN surface and embossed studs for slip resistance
4 – Step angle available in various shapes and surfaces – here: round